Whetstone Sharpening for Beginners: Master Freehand Sharpening Step by Step
Freehand whetstone sharpening is the most rewarding method of maintaining a razor edge — and also the most intimidating for beginners. The good news is that with proper instruction, consistent practice, and the right stone, anyone can learn to produce a hair-popping edge. This guide walks you through every step, from setting up your station to testing your finished edge.
## Why Learn Freehand Sharpening?
Before committing the time to learn, it is worth understanding why freehand sharpening is worth the effort:
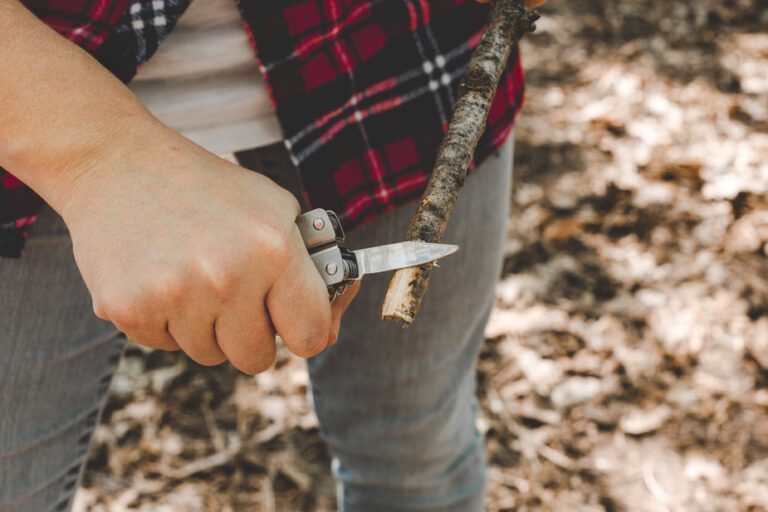
– **Unmatched versatility:** Sharpen any blade — chef’s knives, pocket knives, scissors, chisels, axes — with the same tools
– **Best edge quality:** The finest possible edge comes from freehand technique on quality stones
– **Complete control:** Choose any angle, create convex or compound bevels, and customize your edge
– **Cost efficiency:** A $50 whetstone lasts years and sharpens hundreds of knives
– **The skill factor:** There is genuine satisfaction in producing a razor edge with your own hands
## What You Need to Get Started
Keep your initial investment minimal. You do not need a full progression of expensive stones to learn.
### Essential Equipment
**A quality medium-grit whetstone (800-1200 grit):** This is the only stone you absolutely need to start. A 1000-grit stone is coarse enough to sharpen a dull knife and fine enough to produce an edge that will slice paper cleanly. The Shapton Pro 1000 (splash-and-go, no soaking) and King KDS 1000/6000 (combination stone, requires soaking) are excellent starters.
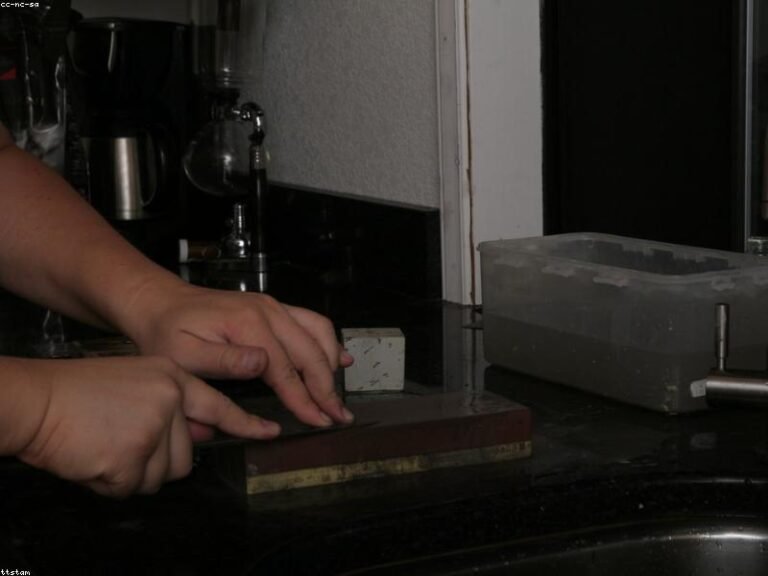
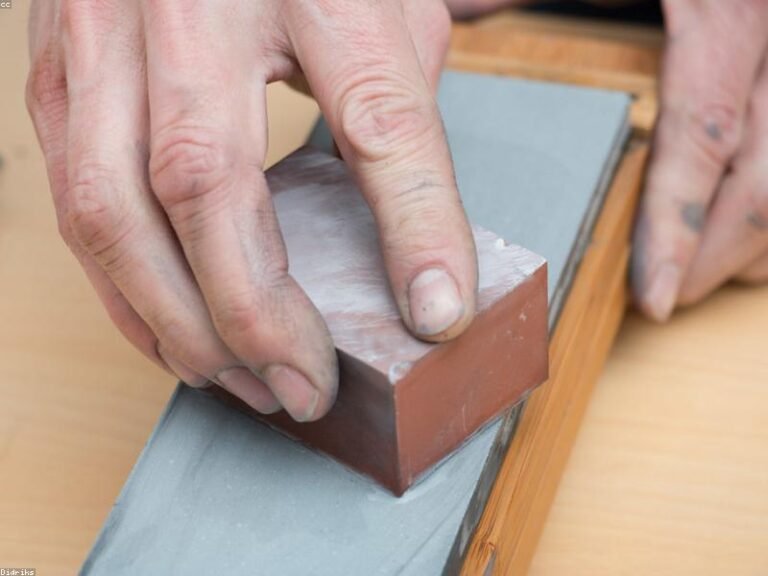
**A flattening method:** Stones wear unevenly and must be flattened. A coarse diamond plate (Atoma 140 or DMT Extra Coarse) is ideal but expensive. Silicon carbide powder on a flat glass or granite plate is the budget option. At minimum, rub two stones together to keep them somewhat flat.
**A stable base:** Your stone must not move while you sharpen. A stone holder with rubber feet, a damp towel on a flat surface, or a dedicated sharpening station all work.
**Good lighting:** You need to see what is happening at the edge. A desk lamp or bright kitchen lighting is essential. Many sharpeners use a magnifying loupe or USB microscope to inspect their edges — not necessary for beginners, but fascinating once you get serious.
**A sharpening angle guide (optional but recommended):** A small plastic wedge at your target angle (15, 17, 20 degrees) clipped onto the spine of the knife helps you feel the correct angle until muscle memory develops. These cost a few dollars and accelerate learning significantly.
### Nice-to-Have Equipment
– **Coarse stone (220-400 grit):** For repairing damaged edges and establishing new angles
– **Fine stone (3000-6000 grit):** For refining and polishing the edge
– **Leather strop with compound:** For final burr removal and edge polishing
– **Nagura stone:** A small stone used to create a slurry that accelerates cutting and polishing
– **Non-slip mat:** Keeps your entire setup from sliding around
Shop beginner sharpening supplies: [Whetstone Starter Kit](https://www.amazon.com/s?k=whetstone+sharpening+starter+kit&tag=bladeowl-20)
## Understanding Sharpening Angles
### Standard Angles
– **15-17 degrees per side:** Japanese kitchen knives, high-hardness EDC blades. Very sharp, less durable.
– **20 degrees per side:** Western kitchen knives, most EDC folders. Good balance of sharpness and durability.
– **25-30 degrees per side:** Heavy-duty outdoor knives, axes, machetes. Maximum durability.
### How to Find the Angle
1. Start with the knife flat on the stone (0 degrees).
2. Lift the spine until the edge bevel contacts the stone. This is your sharpening angle.
3. Use the Sharpie trick: Color the edge bevel with a permanent marker. Make a few light passes on the stone. The marker should be removed from the entire bevel — not just the very edge and not the shoulder. Adjust your angle until the marker removal pattern is correct.
The Sharpie trick is the single most useful technique for beginners. It immediately shows you whether your angle is correct and where you are making contact. Use it liberally as you learn.
## The Sharpening Process
### Step 1: Stone Preparation
If using a soaking stone, submerge it in water for 10-15 minutes until bubbles stop rising. Splash-and-go stones only need surface water. Place the stone on your holder or damp towel at a comfortable height and angle — typically perpendicular to your body.
### Step 2: Find Your Grip
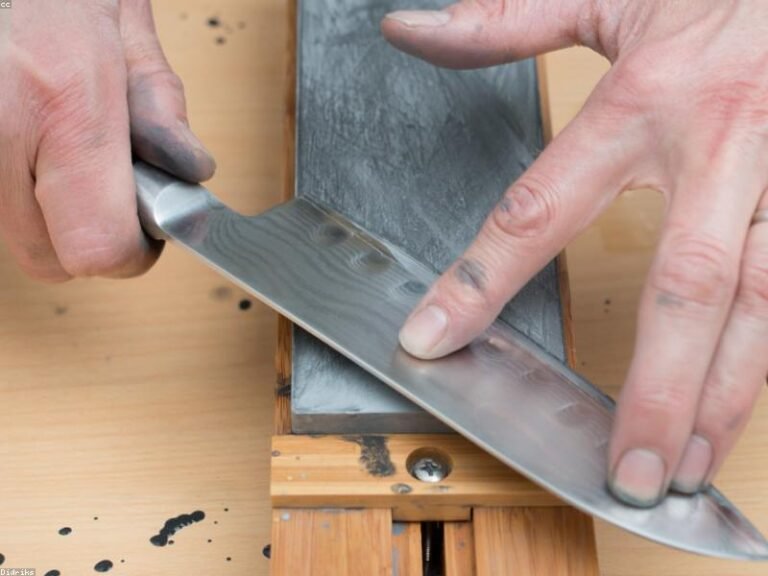
For a chef’s knife or any blade long enough to require two hands: Place your dominant hand on the handle with your index finger and thumb pinching the blade near the heel (pinch grip). Place your non-dominant hand on the blade, fingers flat on the blade face, directly above the section making stone contact. The non-dominant hand controls the angle and applies pressure.
For a pocket knife short enough for one-handed sharpening: Place your index and middle fingers on the blade, directly over the section contacting the stone. Your ring finger and pinky wrap around the handle.
### Step 3: The Sharpening Motion
There are two basic motions:
**Edge-leading (push):** You push the edge into the stone as if trying to slice a thin layer off it. This is the most common motion and creates the cleanest edge. The risk is that excessive pressure can cause the edge to dig into the stone, especially with soft stones.
**Edge-trailing (pull):** You drag the edge backward across the stone, away from the cutting direction. This is gentler and creates a slightly more refined edge. It is the safer motion for beginners and the standard for final refinement.
Most sharpeners use a combination — edge-leading strokes on coarse stones for fast material removal, edge-trailing on fine stones for refinement.
### Step 4: Raising the Burr
The burr is the foundation of a sharp edge. Without a burr, you have not fully apexed the edge — the two sides of the blade have not met at a single point.
1. Place the heel of the blade on the stone at your chosen angle.
2. Apply moderate, even pressure with your non-dominant fingers directly over the section contacting the stone.
3. Push or pull the blade across the stone in a smooth, consistent motion. The blade should move both across and along the stone simultaneously — like you are trying to slice a very thin, even piece off the top of the stone.
4. Cover the entire edge from heel to tip in each stroke. For curved sections, lift the handle slightly to maintain the angle as the curve contacts the stone.
5. Count your strokes — start with 10 per section. Divide the blade into heel, belly, and tip. Work each section with deliberate strokes.
6. After working one side evenly, check for a burr. Run your fingertip gently from spine to edge on the opposite side (the side you have not been sharpening). You should feel a tiny wire edge — like a very fine hook — catching your fingerprint.
7. The burr should be consistent along the entire edge. If some sections have a burr and others do not, work the deficient sections more.
8. Once you have a full burr on one side, flip the blade and repeat on the other side until the burr flips back to the first side.
Common beginner burr mistakes: Not developing a full burr along the entire edge, using too little pressure to form a burr (especially on hard steels), or creating a massive burr with excessive pressure (which wastes metal and makes deburring harder).
### Step 5: Refining the Edge
With a burr raised on both sides, move to your fine stone.
1. Reduce pressure significantly — use only the weight of the blade plus very light finger pressure.
2. Use edge-trailing strokes (spine leading) for refinement.
3. Alternate sides every stroke — one stroke per side, then switch. This ensures an even, symmetrical bevel.
4. Count 20 alternating strokes, then check for burr reduction. The burr should be much finer and harder to detect.
5. Continue until the burr is barely perceptible.
6. Finish with extremely light pressure — just barely skimming the stone — for the last 10 alternating strokes.
### Step 6: Deburring
A remaining burr ruins edge performance. The burr will fold over during the first cut and the edge will feel dull. Deburring is arguably the most important step and the one beginners most often skip.
Methods to remove the burr:
**Edge-trailing light passes:** On your finest stone, make very light alternating passes. The goal is not to remove more metal but to fatigue the burr until it falls off.
**Draw through soft material:** Gently draw the edge through a piece of cork, soft wood, or felt. This catches the burr and pulls it off. A wine cork is a classic deburring tool.
**Stropping:** A leather strop with polishing compound is the most effective deburring method. Make spine-leading passes at your sharpening angle with very light pressure. The strop catches and removes the burr while polishing the apex.
### Step 7: Testing the Edge
**Paper test:** Hold a sheet of printer paper loosely in one hand. Slice through it with the knife. A sharp edge cuts cleanly and quietly. A dull edge tears and makes a ripping sound. For an advanced edge, try push-cutting — push the edge straight down through the paper without any slicing motion.
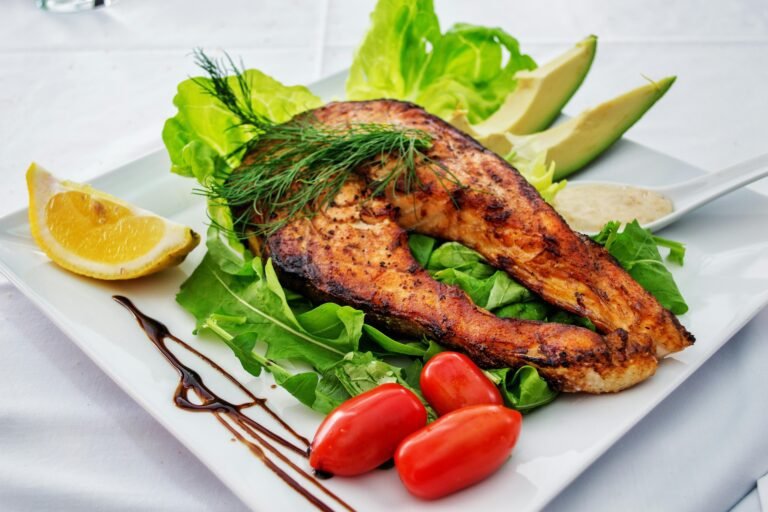
**Tomato test:** Rest the blade on a ripe tomato. Under only its own weight, a truly sharp edge should bite into the skin. No pressure should be needed.
**Arm hair test:** Rest the blade lightly on your arm hair above the skin. A sharp edge pops hairs off with a light touch. Do not press — the goal is hair-popping, not scraping skin.
## Advanced Techniques
### The Burr Removal Trick
After sharpening, make a single, very light, slightly elevated-angle pass on each side. This creates a micro-bevel — a tiny secondary bevel at a slightly wider angle than your primary edge. The micro-bevel strengthens the edge and removes any remaining burr. Raise your angle by 2-3 degrees for the micro-bevel pass.
### Creating a Convex Edge
A convex edge is curved rather than flat — it is stronger and more durable, especially for outdoor knives. To create a convex edge, use slightly varying angles during sharpening, rounding the transition between the primary bevel and the blade face. Convex edges are more difficult to create precisely but excel on hard-use knives.
### Mirror Polishing
A mirror edge is purely aesthetic — it does not cut better than a well-executed satin edge at the same sharpness level. However, it is beautiful and a satisfying demonstration of skill. Mirror polishing requires a full progression of stones up to 10,000+ grit, followed by stropping with sub-micron diamond compounds. It is a meditative process rather than a practical necessity.
## Troubleshooting Common Problems
**Problem:** The knife feels sharp but does not cut well.
**Cause:** The burr was not fully removed. The folded burr acts like a dull edge.
**Solution:** Deburr more thoroughly. Strop with compound. Use the cork method.
**Problem:** The edge is sharp near the heel but dull near the tip.
**Cause:** Uneven stroke distribution. You spent more time on the heel section.
**Solution:** Divide the blade into sections and count strokes per section. Use the Sharpie trick to verify you are hitting the entire edge.
**Problem:** The edge sharpens well but dulls quickly.
**Cause:** The burr was not fully removed, or a wire edge formed rather than a clean apex.
**Solution:** More thorough deburring. Lighten pressure on finishing strokes.
**Problem:** The stone feels like it is not cutting.
**Cause:** The stone surface is glazed over — loaded with metal particles that clog the pores.
**Solution:** Flatten the stone with a diamond plate to expose fresh abrasive. Use a nagura to create slurry that keeps the surface cutting.
**Problem:** I cannot maintain a consistent angle.
**Cause:** This is normal for beginners. Angle control requires muscle memory that develops with practice.
**Solution:** Use an angle guide. Practice slowly. Use the Sharpie trick. Be patient — consistency comes with time, typically 10-20 sharpening sessions.
## Practice Makes Permanent
Your first few sharpening sessions will produce mediocre edges. This is completely normal and part of the learning process. Every skilled sharpener started exactly where you are now.
Use a beater knife for practice — an old kitchen knife or inexpensive pocket knife that you do not mind potentially scratching. Focus on technique, not results at first. The results will come naturally as your muscle memory develops.
Track your progress: Keep a practice knife and sharpen it, dull it by cutting cardboard, and sharpen it again. After five cycles, your edges will be noticeably better. After twenty cycles, you will be producing edges that rival factory sharpness.
Start your whetstone journey: [Best Beginner Whetstones](https://www.amazon.com/s?k=whetstone+1000+6000+beginner&tag=bladeowl-20)
For guided sharpening if freehand is not clicking: [Guided Knife Sharpening Systems](https://www.amazon.com/s?k=guided+knife+sharpener+beginner&tag=bladeowl-20)