Best Whetstone Sets for Beginners 2026 — Start Sharpening Like a Pro
If your knives have been getting duller instead of sharper no matter how many pull-through sharpeners you’ve tried, a whetstone is the actual fix. It takes a bit more effort to learn than a gadget, but it’s the method that professional sharpeners and serious cooks rely on, and it’s a skill that keeps paying off for as long as you own knives. Here’s what beginners actually need to know before buying a set.
Grit Progression: Coarse, Medium, Fine
Whetstones are rated by grit number, and understanding the progression matters more than any single stone. Coarse stones (roughly 220–400 grit) are for repair work — fixing chips, reshaping a damaged edge, or restoring a knife that’s been badly neglected. Most sharpening sessions don’t need a coarse stone at all. Medium stones (around 1000 grit) are the workhorse grit for regular sharpening — this is where you’ll actually form and maintain the edge most of the time. Fine stones (3000 grit and up) are for polishing and refining an edge that’s already sharp, giving it a cleaner, sometimes more precise bite. A beginner set typically pairs a medium and fine stone, sometimes on two sides of the same block, which covers the vast majority of home sharpening needs.
Water Stones vs. Oil Stones vs. Diamond Stones
Water stones are soaked in or splashed with water before use and are the most common choice for kitchen knife sharpening, especially for Japanese-style blades. They cut relatively fast and give excellent results, but softer water stones wear down and dish out over time, meaning they’ll eventually need flattening.
Oil stones use honing oil instead of water, wear more slowly, but also cut more slowly, and the oil makes cleanup messier. They’re more traditional in Western knife and tool sharpening. Diamond stones use a metal plate embedded with diamond particles instead of a traditional abrasive. They cut fast, stay flat much longer since they don’t wear the way stones do, and work on almost any steel. They’re often pricier but need little maintenance, which appeals to beginners who’d rather skip flattening altogether.
Flattening Stones
Traditional water stones and oil stones wear unevenly with use, developing a dip in the middle. Sharpening on a dished-out stone actually damages your edge geometry instead of fixing it. A flattening stone (or a flattening plate) is used periodically to grind the sharpening stone back to flat. It’s an unglamorous but necessary part of owning traditional stones — budget for one if your set doesn’t include it, or lean toward diamond stones if you’d rather skip this step entirely.
Angle Guides
Holding a consistent angle by hand is the hardest part of sharpening for beginners, and it’s the main reason early attempts produce an uneven edge. An angle guide — a small clip-on tool that attaches to the spine of the blade — helps hold a consistent angle while you build muscle memory. Many experienced sharpeners eventually stop using a guide once they’ve internalized the angle by feel, but there’s no shame relying on one early on. Just make sure it matches the edge angle appropriate for your knife (Japanese-style knives are often sharpened narrower than thicker Western blades).
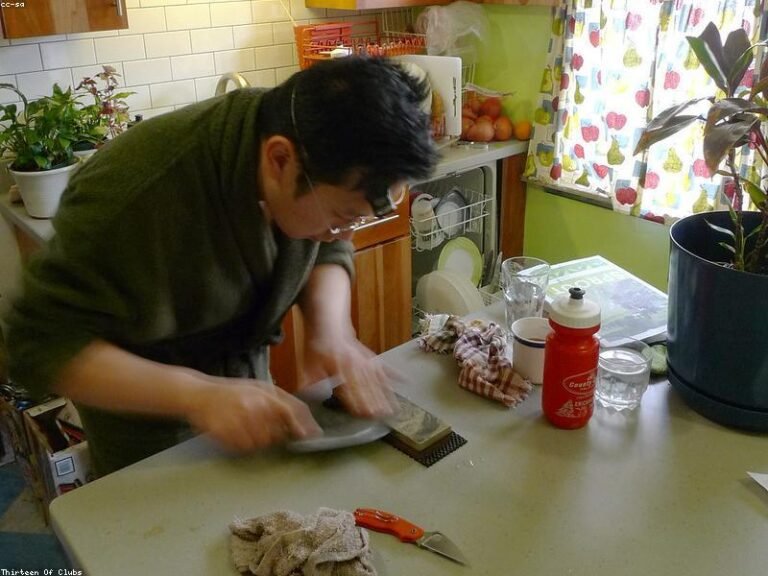
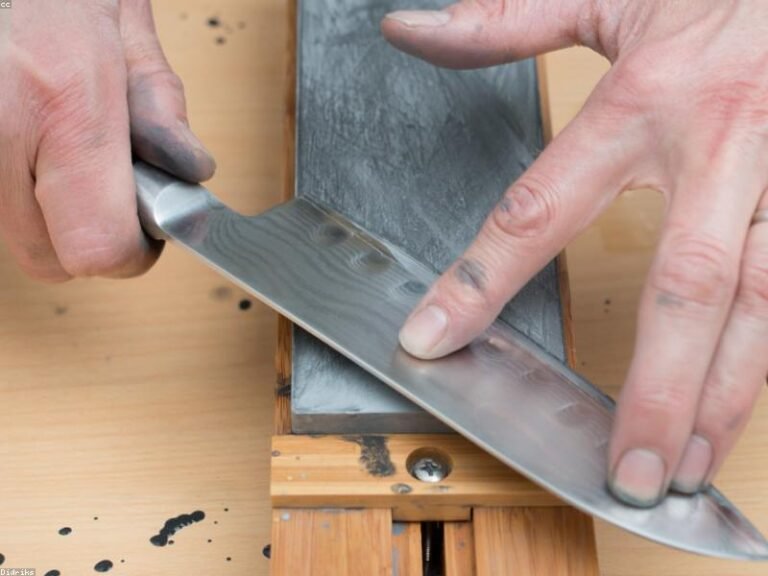
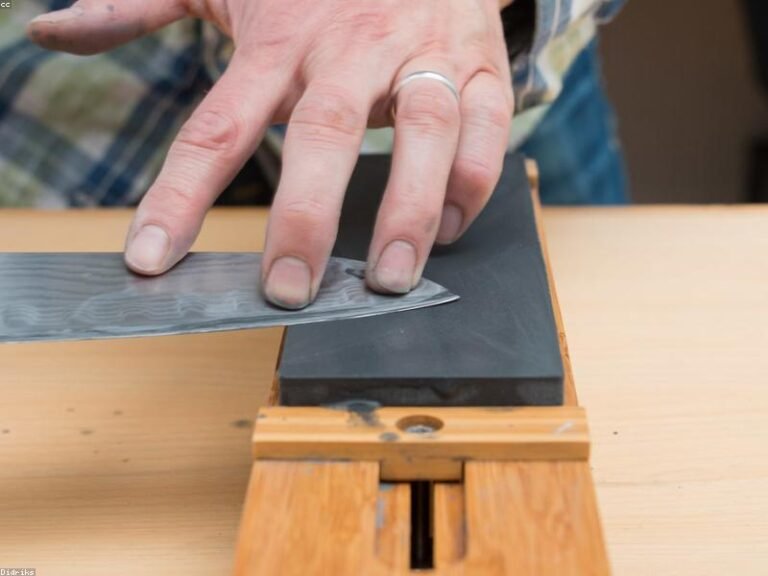
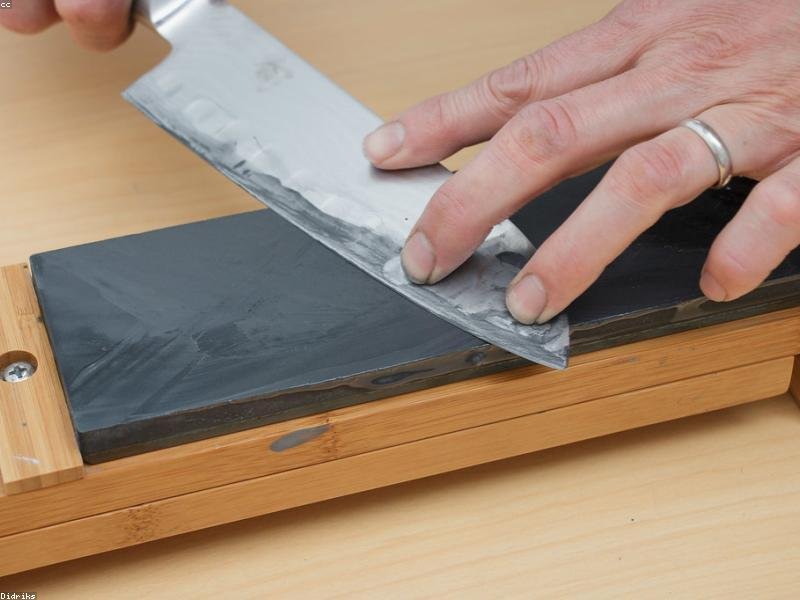
Basic Technique
The process is consistent across stone types: soak or wet the stone as needed, hold the blade at a steady angle, and draw the edge across in smooth, controlled strokes, alternating sides evenly. You’re aiming to raise a “burr” — a thin edge of displaced metal you can feel with a fingertip — before moving to a finer grit to refine it away. It takes practice to build a feel for consistent pressure and angle, so don’t expect a razor edge on the first try. Start with an inexpensive knife before moving to your good kitchen knives.
Bottom Line
For beginners, a combination stone with medium and fine grits, paired with an angle guide, covers most needs without overwhelming complexity. Water stones are the most common starting point for kitchen knives; diamond stones are worth considering if you’d rather avoid flattening maintenance. Whichever you choose, the real investment is in the technique — the stone is just the tool that lets you practice it.