How to Sharpen Serrated Knives
The Bread Knife Problem Nobody Talks About
You probably own at least one serrated knife — a bread knife, a tomato knife, or that steak knife set you got as a wedding gift. And if you’re like most people, you’ve never sharpened it. Not once. The knife industry has quietly accepted this reality: serrated knives are sold as “never needs sharpening” tools when the truth is that nobody teaches you how to sharpen them properly.
Here’s the uncomfortable truth: serrated knives do go dull. The serrations delay the perception of dullness because the points still tear through crust and skin even when the valleys between them are rounded and blunt. But eventually, even a serrated blade stops doing its job. When your bread knife starts crushing baguettes instead of sawing through them, it’s time to sharpen — not replace.
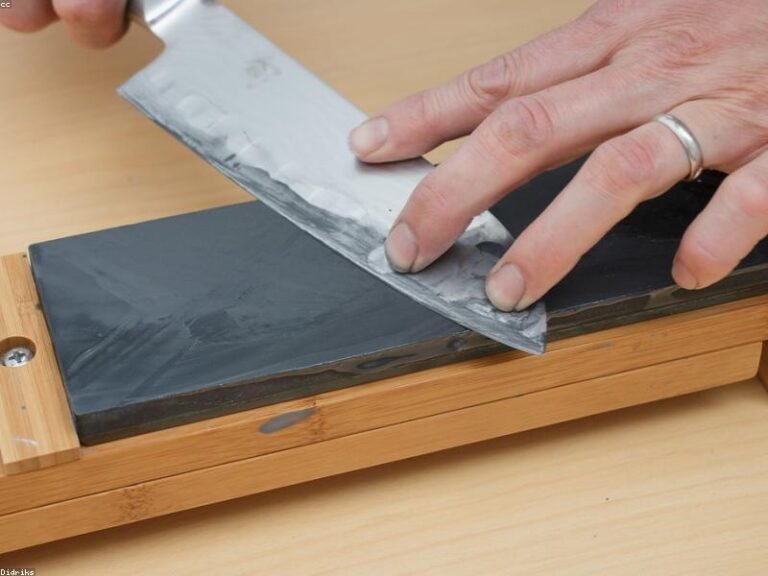
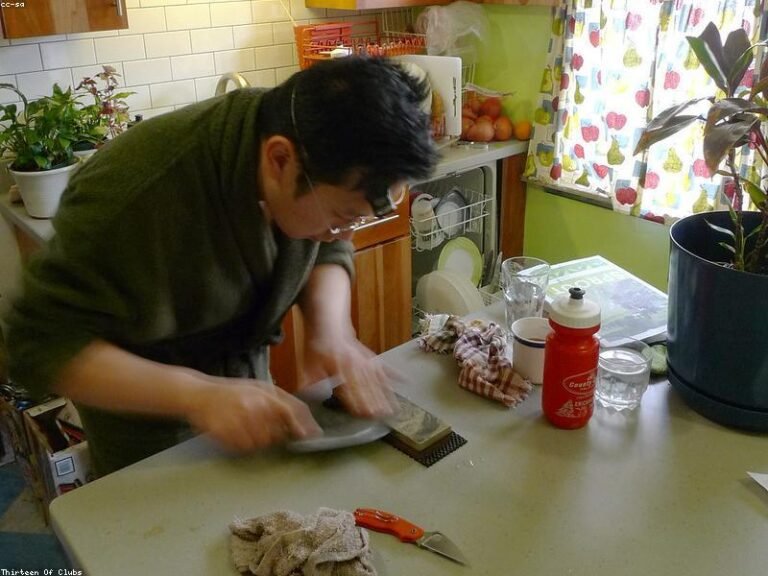
And yes, you can ruin your serrated knife if you do it wrong. Most people instinctively reach for a flat whetstone and try to sharpen the serrated side like a flat blade. This rounds off the points and smooths out the scallops, turning your precision bread knife into a dull straight-edge knife with wavy dents. Don’t do that.
How Serrations Actually Work — The Key Insight
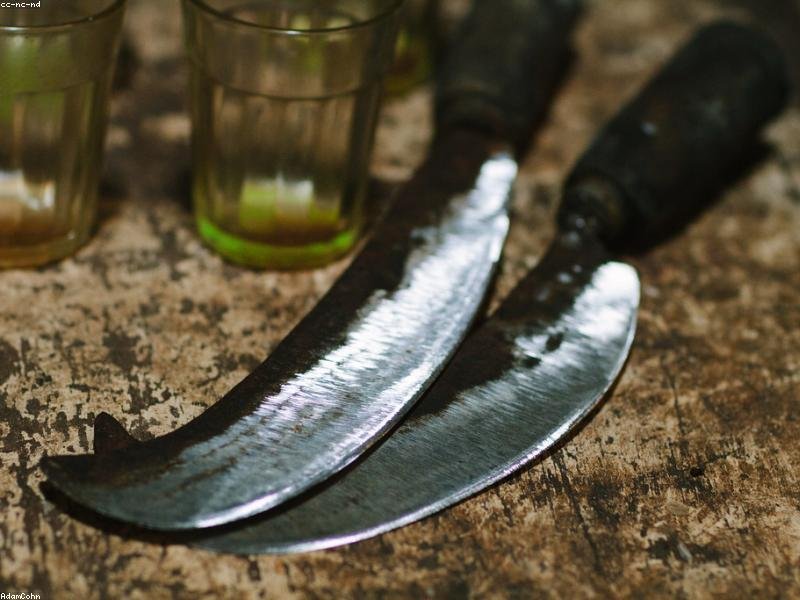
Look at your serrated knife under good light. You’ll see one side has scalloped grooves cut into the blade face (the serrated side), and the other side is flat (or nearly flat) with just a faint edge bevel. This is by design. Serrated knives are essentially chisel-ground — the serrations are cut into one side only, and the flat back side is where the actual cutting edge lives.
This means sharpening a serrated knife is fundamentally different from sharpening a straight-edge knife:
- You sharpen only the flat (back) side. This is where the edge bevel is. A few light strokes on the flat side restores the edge without touching the serrations.
- The serrated side gets individual attention. Each scallop needs to be sharpened individually using a round or triangular rod that matches the serration profile. This is the part most people skip — and the part that actually makes the knife cut properly again.
The Tools You Need
You can’t sharpen serrated knives with flat whetstones. You need tools specifically designed for the job:
1. Tapered Diamond or Ceramic Rod
A tapered sharpening rod is the most versatile tool for serrations. The cone shape means you can match it to any serration size — narrow at the tip for small scallops, wider near the handle for large bread-knife serrations. The DMT Diafold Serrated Knife Sharpener is a folding diamond rod that’s portable, aggressive enough for dull blades, and long-lasting. Diamond rods cut faster than ceramic, which matters when you’re working one scallop at a time.
2. The Spyderco Sharpmaker — The Serrated Specialist
The Spyderco Tri-Angle Sharpmaker is widely considered the best consumer tool for serrated sharpening. Its triangular ceramic rods have corners that perfectly fit into most serration patterns, and the flat faces let you sharpen the back side of the blade efficiently. The base holds rods at either 30° (15° per side) or 40° (20° per side), covering both Asian and Western knife angles.
The Sharpmaker comes with two grits: medium (brown) and fine (white). For serrated knives that haven’t been sharpened in years, start with the brown rods — the corners fit into the serrations and abrade the rounded steel back to a defined edge. Finish with the white rods to refine. The system also includes a groove for sharpening fishhooks, awls, and other pointed tools, which is a nice bonus.
3. Lansky Turn Box — Affordable Alternative
If the Spyderco Sharpmaker is out of budget, the Lansky 4-Rod Turn Box does much the same job at a third of the price. It uses round ceramic rods instead of triangular ones — which actually works better for deeply curved serrations, though it’s less effective for the flat back side of the blade. The Turn Box includes both medium (600 grit) and fine (1000 grit) rods stored inside the wooden base, with pre-set 20° and 25° angle holes.
One limitation: the round rods don’t have a corner to get into tight serration peaks the way the Sharpmaker’s triangle rods do. For Wusthof-style scalloped serrations (wide, gentle curves) this is fine. For micro-serrated steak knives with tiny teeth, you’ll want the Sharpmaker or a dedicated diamond tapered rod.
Step-by-Step: How to Sharpen a Serrated Knife
Here’s the complete process, broken down into two phases:
Phase 1: The Flat Back Side (2-3 minutes)
- Lay the knife flat-side-down on your sharpening surface. You’ll feel a very slight edge bevel — maybe 1-2mm wide — on this side.
- Using the flat face of your Sharpmaker rod (or any fine whetstone), make light passes along this edge bevel at the existing angle. Five to ten strokes is usually enough.
- Feel for a burr on the serrated side. Once you can feel a tiny wire edge catching your fingernail, stop.
- Make two or three very light alternating passes (one on each side) to remove the burr.
Phase 2: The Serrated Side — One Scallop at a Time (5-15 minutes)
- Identify the bevel inside each serration. On most knives, the serrations are ground from one side only — the cutting edge is on the inside curve of each scallop.
- Match your rod to the serration size. Position the rod so it contacts the entire interior curve of the scallop.
- Using light pressure, stroke the rod through each serration 3-5 times, following the existing angle. You’re not trying to reshape the serrations — just restore the edge inside them.
- Work systematically from heel to tip. Count your strokes per serration to keep things even.
- After doing all serrations, run the flat side again with 2-3 very light strokes to remove any micro-burrs.
Test on a ripe tomato or a crusty bread roll. If it still tears rather than slices, go back and give each serration 2-3 more strokes.
The Most Common Mistake (That Ruins Serrated Knives)
We mentioned this earlier, but it bears repeating with emphasis: do not sharpen the serrated side flat against a whetstone. The instinct to lay the serrated side down and scrub it back and forth on a flat stone is perfectly natural — and perfectly wrong. It rounds the points of the serrations into gentle bumps, destroying the penetrating ability of the teeth.
This is also why pull-through sharpeners with V-shaped carbide slots are terrible for serrated knives. The carbide cutters scrape both sides of the blade indiscriminately, and the serrated side gets mangled in the process. If you value your serrated knives, keep them away from any sharpener that isn’t specifically designed for serrations.
When Is It Time to Replace Instead of Sharpen?
Serrated knives have a shorter lifespan than straight-edge knives — not because the steel wears out faster, but because sharpening them is inherently a metal-removal process that gradually reduces the depth of the serrations. After 5-10 sharpenings, the scallops will be noticeably shallower and the knife will stop performing the way it should.
Signs it’s time for a new serrated knife:
- The serrations are visibly worn down, with the deepest part of each scallop noticeably closer to the spine than when new.
- Sharpening no longer restores cutting performance — the knife still tears bread after a full sharpening session.
- The points between serrations have become blunt or rounded despite proper rod sharpening.
- The blade has developed a bend or wave (common on cheap stamped serrated knives).
For most home cooks, a quality serrated bread knife sharpened once or twice a year will last a decade or more. The investment in a proper sharpening tool like the Spyderco Sharpmaker pays for itself the first time you restore a bread knife instead of replacing it. And as a bonus, the Sharpmaker works beautifully on your straight-edge knives too — it’s one of the most versatile sharpening systems available for under $100.