How to Sharpen a Knife: Complete Beginners Guide
How to Sharpen a Knife:
Complete Beginner’s Guide (2026)
A dull knife isn’t just annoying—it’s dangerous. It slips, it crushes instead of cuts, and it turns a simple kitchen task into a wrestling match. But here’s the thing most people miss: how you sharpen matters far more than the knife you own. A $30 Walmart chef’s knife with a proper edge will outperform a $300 Japanese blade that’s been neglected for years. This guide will take you from zero to confidently shaving arm hair with any blade in your kitchen. No prior experience needed.
ƒö¬ Why Sharpening Matters More Than the Knife Itself
Walk into any kitchen store and you’ll see knives priced from $20 to $500. The marketing will tell you it’s all about the steel, the forging process, the brand heritage. But here’s the uncomfortable truth: edge geometry beats steel quality every time. A perfectly sharpened cheap stainless blade will glide through a tomato skin. A dull VG-10 core Japanese gyuto will smash it into pulp.
Sharpening is the great equalizer. It’s also a skill that pays dividends forever—every meal you cook, every camping trip, every DIY project. Once you can put a razor edge on your tools, you stop being a consumer of knives and start being their caretaker.
ÔÜí Quick Reality Check
- A sharp knife requires less force less chance of slipping fewer ER visits
- You’ll actually enjoy cooking when prep work doesn’t feel like a chore
- Your ingredients stay fresher—crushed cells oxidize faster than clean cuts
- Learning to sharpen costs less than one professional sharpning service
ƒøá´©Å Sharpening Methods Overview
There are four main approaches to sharpening. Each has its place. None is universally “best”—the right choice depends on your knives, your patience, and your budget.
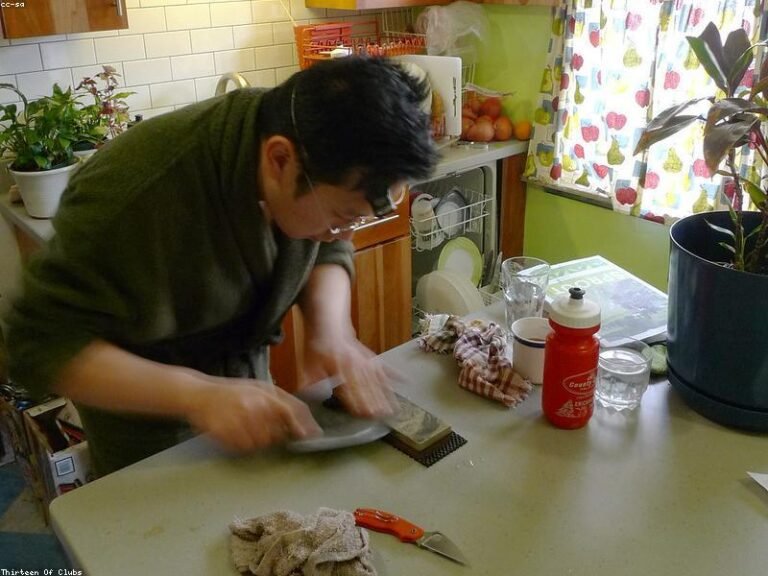
ƒ¬¿ Whetstones (Water Stones)
The sharpening angle is the angle between the stone and the knife. Measured per side (unless marked “inclusive,” meaning both sides combined). Here’s how angle affects your edge:
| Angle (per side) | Sharpness | Durability | Typical Use |
|---|---|---|---|
| 10–12 | Extreme | Fragile | Straight razors, sashimi knives (yanagiba) |
| 15–17 | Excellent | Moderate | Japanese chef knives (gyuto, santoku) |
| 18–20 | Very good | Good | Western chef knives, most kitchen knives |
| 22–25 | Good | Excellent | Pocket knives, outdoor/hunting knives |
| 30+ | Adequate | Near-indestructible | Axes, machetes, heavy choppers |
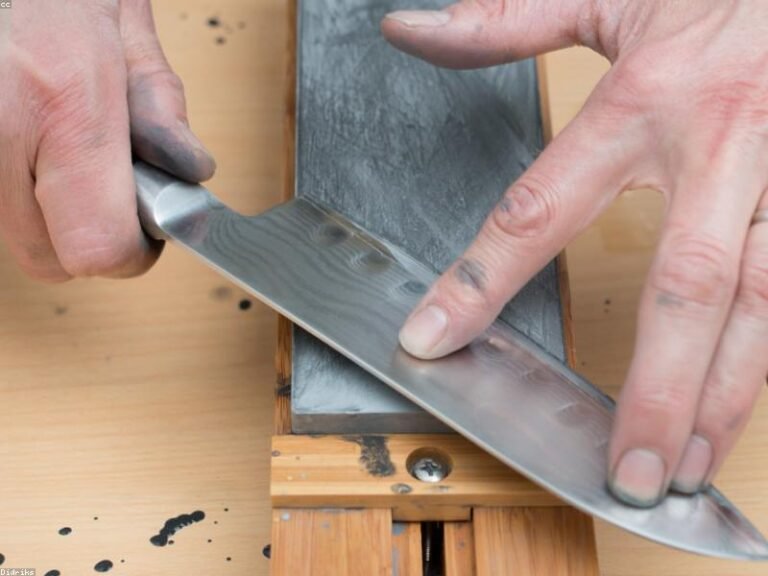
The golden rule: Lower angle = sharper but more fragile. Higher angle = tougher but less slicey. For 90% of home cooks, 20 per side on a Western knife or 15 on a Japanese knife is perfect. Don’t overthink it—consistency matters more than hitting exactly 18.7.
Pro trick: If you’re unsure what angle your knife came with, use the Sharpie trick. Color the edge bevel with a permanent marker, make a few light strokes on the stone, and check where the marker has been removed. Adjust your angle until you’re hitting the entire bevel—that’s your factory angle.
ƒÜ½ Common Sharpening Mistakes (And How to Avoid Them)
Everyone makes these. Here’s what to watch for so you can skip the frustrating part and get sharp faster.
- Skipping the burr. The #1 beginner mistake. If you don’t build a burr on one side before flipping, you’re just polishing—not sharpening. Feel for that tiny wire edge before moving on. No burr, no sharp knife.
- Inconsistent angle. Your wrist wobbles. Everyone’s does at first. Lock your wrist, move from your shoulder, and go slower than you think you need to. Speed comes later. A few perfect strokes beat a hundred sloppy ones.
- Using too much pressure. You’re not trying to file the knife in half. Excessive pressure creates deep scratches, a thick burr, and uneven wear on your stone. Let the abrasive do the work.
- Jumping grits too fast. If you go from a 400-grit stone straight to a 6000-grit stone, you’ll spend forever polishing out the coarse scratches. Each grit jump should roughly double: 400 800/1000 2000/3000 6000.
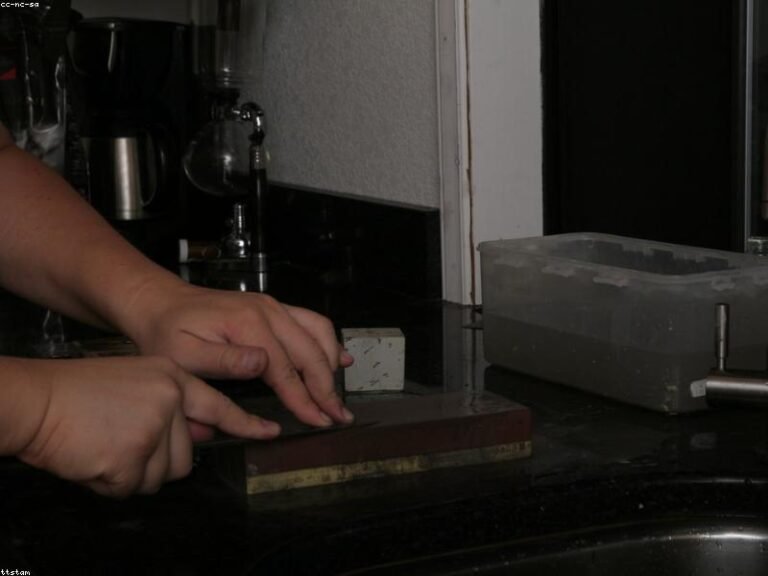
- Not flattening your stone. Whetstones dish (develop a concave surface) over time. A dished stone rounds your edge. Flatten it with a flattening stone or sandpaper on a flat surface every few sharpening sessions.
- Honing instead of sharpening. If your knife is truly dull, a honing rod won’t save it. Honing realigns; sharpening removes metal. Know which one your edge needs. When the paper test fails, it’s sharpening time—not honing time.
- Neglecting the tip and heel. Most beginners focus on the middle of the blade because it’s easiest. Make a conscious effort to work the tip (lift slightly) and the heel (keep the entire edge in contact at the base).
ƒÆí The One Thing That Fixes Everything
If you fix nothing else, fix your angle consistency. Lock your wrist. Slow down. Half the speed you think you need is still probably too fast. A steady 20 with patience beats a herky-jerky 15 with “I’ll just do one more pass” energy.
ƒöä Maintenance: Keeping Your Edge Alive
Sharpening is a skill. Maintaining that sharpness is a habit. Here’s how to make your edges last:
- strong>Hone regularly. A few strokes on a honing rod before (or after) each cooking session keeps the edge aligned. Takes 10 seconds.
- Use proper cutting surfaces. End-grain wood or soft plastic boards. Never glass, granite, ceramic plates, or metal. Your cutting board is an investment in your edges.
- Hand wash and dry immediately. The dishwasher is a knife’s worst enemy—detergent is abrasive, and the rattling dulls edges against other items.
- Store properly. Magnetic strip, knife block, or edge guards. Never loose in a drawer where edges bang against other metal.
- Sharpen proactively. Don’t wait until your knife is butter-knife dull. Touch up on a fine stone (3000–6000 grit) every 1–3 months depending on use. Full sharpening sessions should be needed only 1–2 times per year for a home cook.
ƒÄô Final Thoughts: You’ve Got This
Sharpening isn’t magic. It’s a mechanical skill—like tying your shoes or parallel parking. Your first edge won’t be pretty. It might not even be sharp. But your tenth edge? That one will cut. Your fiftieth edge will make you wonder why you ever paid someone $8 per knife at the farmer’s market.
Start with a cheap knife and a budget stone. Make mistakes where it doesn’t matter. Graduate to nicer gear when you can consistently produce an edge that passes the paper test. The confidence that comes from knowing you can make any blade dangerously sharp? That’s worth more than any single knife you’ll ever own.
ƒøÆ Ready to Get Started? Grab Your Gear
Everything you need to put this guide into practice. All links go to Amazon with our recommendations—each one is a tool we’d give to a friend learning to sharpen.
- ƒ¬¿ Best Starter Stone: Sharp Pebble 400/1000 Grit Whetstone — The perfect first stone. Affordable, dual-grit, and forgiving.
- ƒç»ƒçÁ Best Upgrade Stone: King KDS 1000/6000 Combination Stone — Legendary Japanese stone for polished, razor edges.
- ƒÄ» Best Guided System: Worksharp Precision Adjust — Dead-simple angle control. Nearly impossible to mess up.
- ƒöº Best for Pocket Knives: Lansky Deluxe 5-Stone System — Five grits from coarse repair to fine finishing.
- ƒÑó Best Touch-Up System: Spyderco Sharpmaker — The gold standard for quick maintenance and serrated blades.
- ƒôä Leather Strop: Browse Leather Strops — For that final mirror polish and burr removal.
- ƒöì Browse All Sharpening Gear: View Sharpening Supplies on Amazon
As an Amazon Associate, Bladeowl earns from qualifying purchases. This doesn’t affect the price you pay—it just helps us keep testing and writing about sharp things.
Stay sharp. ƒö¬
® 2026 Bladeowl — bladeowl.com