Whetstone Sharpening for Beginners: Get Razor-Sharp Edges Step by Step
Whetstone sharpening intimidates beginners. The forums are full of jargon — burr formation, slurry management, apex refinement — and the videos make it look effortless in ways your first attempts definitely will not be. But here is the truth: anyone with functional hands and 30 minutes of focused practice can learn to sharpen a knife on a whetstone well enough to slice through paper cleanly. This guide gets you there.
What You Need to Start
The Stone
Start with a single combination whetstone: 1000 grit on one side, 3000-6000 grit on the other. The 1000-grit side is your workhorse — it sets the edge and removes the dull metal. The fine side polishes and refines that edge. Do not buy a multi-stone kit with 400/1000/3000/8000 grit progression. You will not touch half of those stones, and the lower grits remove more metal than a beginner should be removing. One good combination stone will last years.
King 1000/6000 Combination Whetstone on Amazon →
Shapton Pro 1000 Whetstone on Amazon →
Optional but Recommended
- Stone holder / sink bridge: Keeps the stone stable and at a comfortable height. Essential if you sharpen at a counter rather than on the floor.
- Angle guide wedges: Small plastic wedges at common angles (15°, 17°, 20°) let you check your angle by feel. Useful for training muscle memory.
- Leather strop: A strop loaded with compound removes the final burr and polishes the apex. You can use an old leather belt to start.
Step 1: Soak the Stone
Soaking whetstones (like the King) need 10-15 minutes submerged in water — you will see bubbles stop rising when it is ready. Splash-and-go stones (like Shapton Pro) only need surface water. Check which type you bought. A dry stone will not cut properly and can damage your edge.
Step 2: Find and Hold Your Angle
Angle consistency is the single skill that separates sharp knives from dull ones. Most Western kitchen knives sharpen at 20 degrees per side. Japanese knives typically use 15 degrees or less. Here are two methods to find your angle:
- The 45-degree trick: Hold the blade perpendicular to the stone (90 degrees). Tilt it halfway toward the stone (45 degrees). Tilt halfway again (22.5 degrees). That is approximately your 20-degree sharpening angle.
- The quarter method for Japanese knives: Start at 90 degrees. Halve to 45. Halve to 22.5. Halve to about 11 degrees. Adjust slightly upward to hit ~15 degrees.
Lock your wrists. The angle should not change as you move the blade across the stone. Use your shoulders and elbows for the motion, not your wrists.
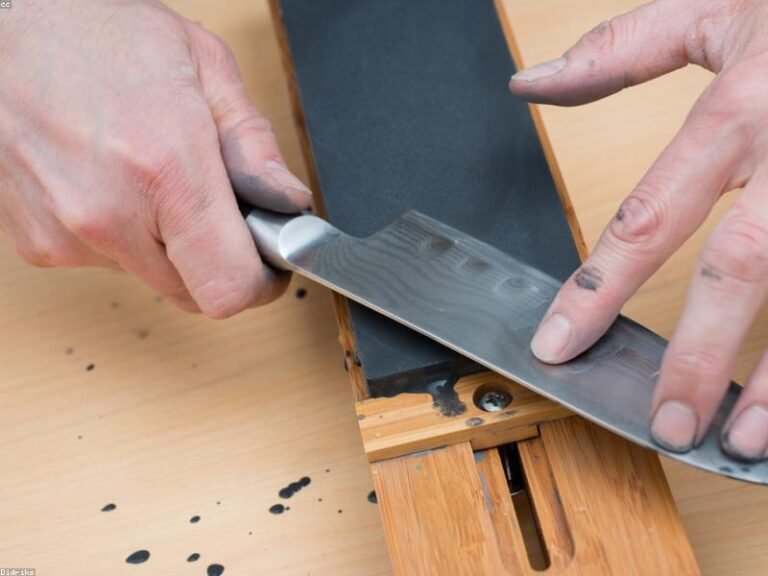
Step 3: Raise a Burr (1000-Grit Side)
Sharpening on one side until you feel a burr — a microscopic curl of metal at the edge — along the entire opposite side of the blade. Run your fingertip gently across the edge (not along it — you will cut yourself). When you feel a consistent roughness on the side opposite the one you are sharpening, the burr is present. This is your signal that you have reached the apex. The burr method is the most reliable way to know you have actually sharpened the edge rather than just polishing the shoulder.
Typical strokes needed: 20-30 per section for a dull knife, fewer for maintenance sharpening. Work in sections along the blade — heel, belly, tip — spending extra time on the curved belly where angle control is hardest.
Step 4: Flip and Repeat
Once you have raised a burr along the entire edge on one side, flip the knife and repeat on the other side. Use the same angle, the same number of strokes. Feel for the burr to flip to the first side. This symmetry matters — uneven sharpening creates an edge that curves toward the thicker side.
Step 5: Refine on the Fine Side (3000-6000 Grit)
Switch to the fine side of your stone. Use lighter pressure — the weight of the blade is almost enough. Make alternating strokes: one pass per side, then flip. Ten to fifteen alternating strokes per side is plenty. The goal is to remove the burr you created on the coarse side and polish the scratch pattern to a finer finish. Do not try to raise a new burr on the fine side.
Step 6: Deburr and Strop
The burr must be completely removed. A remaining burr will fold over during the first cut, creating the illusion of a dull knife. Deburring methods:
- Edge-leading strokes on the stone: Very light, short strokes with the edge leading (as if you are trying to cut a thin slice off the stone). Three to five per side.
- Cork or felt block: Draw the edge through a wine cork or dense felt. This catches and removes the burr.
- Leather strop: 10-15 light trailing strokes per side on a strop loaded with compound. This is the best finishing method.
Step 7: Test Your Edge
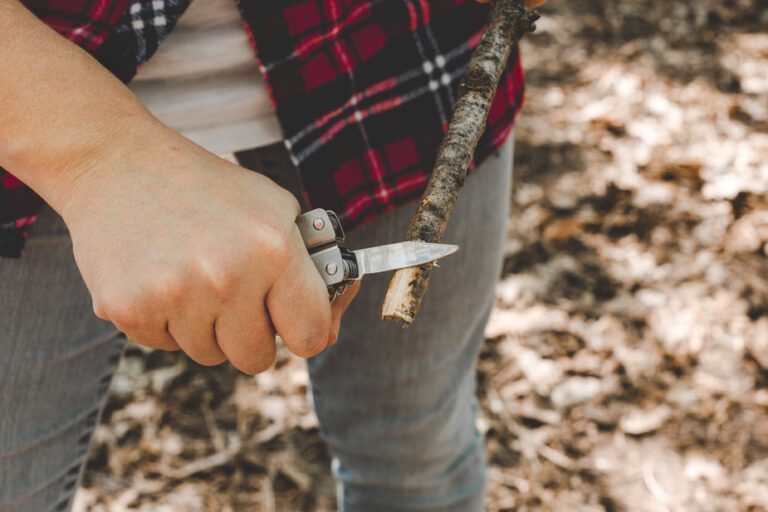
The paper test: hold a sheet of printer paper and slice downward. A properly sharpened knife cuts silently and cleanly with almost no pressure. If it snags or tears, your angle was inconsistent, the burr was not fully removed, or you did not fully apex the edge. Back to the 1000-grit side for a few more passes.
Common Beginner Mistakes
- Inconsistent angle: The blade angle wobbles as you move. Slow down. Lock your wrists.
- Too much pressure: You are not scrubbing a pan. Light, consistent pressure — 2-3 pounds of force.
- Skipping the burr: Without a burr, you did not actually sharpen. Check constantly.
- Neglecting stone flattening: Whetstones dish (develop a hollow) over time. A dished stone cannot produce a flat edge. Flatten your stone after every few sharpening sessions using a flattening plate or coarse sandpaper on a flat surface.
Expect your first edge to be mediocre. Your third edge will be decent. By edge number ten, you will be producing edges sharper than factory-new knives. The learning curve is real but short, and the skill pays dividends for the rest of your life.
Disclosure: BladeOwl participates in the Amazon Services LLC Associates Program. As an Amazon Associate, we earn from qualifying purchases at no additional cost to you.