How to Sharpen a Knife Without a Whetstone — 5 Methods That Work
You know your knife needs sharpening. The tomatoes are squashing instead of slicing, and your EDC folder struggles through cardboard. But your whetstone is at home — or you don’t own one yet. Don’t worry: you can get a working edge back using everyday items you probably already have.
Why Sharpening Without a Stone Works
Sharpening is fundamentally about removing metal at a consistent angle to create a new edge. Whetstones are the best tool for the job, but the same principle applies with any abrasive surface. The key is maintaining angle consistency — the tool matters less than your technique.
Method 1: Coffee Mug (Ceramic)
The unglazed bottom ring of a ceramic coffee mug is essentially a fine-grit ceramic sharpening rod. It’s surprisingly effective for touch-ups and works on most kitchen and pocket knives.
- Flip the mug upside down. Find the unglazed ring on the bottom — it feels rough, like unfinished ceramic.
- Hold your knife at roughly 20 degrees against the ring.
- Draw the blade across the ring from heel to tip, maintaining a consistent angle.
- Alternate sides, 10-15 passes per side.
- Test on paper. If it catches and tears instead of slicing cleanly, continue with lighter pressure.
Best for: Kitchen knives, EDC folders. Works on most steels including D2 and stainless.
Method 2: Leather Belt (Stropping)
A leather belt functions as a strop — it doesn’t remove much metal, but it realigns the microscopic edge and polishes it to hair-shaving sharpness. This is maintenance, not full sharpening, but it keeps a blade going between proper sessions.
- Hang the belt from a doorknob or anchor it on a table edge, rough (unfinished) side up.
- Pull the knife away from the edge (edge trailing) — never push into the leather.
- Alternate sides, 20-30 passes each. Light pressure only.
- Optional: apply a small amount of metal polish or honing compound to the leather for faster results.
Best for: Already-sharp knives that need a refresh. Straight razors, kitchen knives, EDC blades.
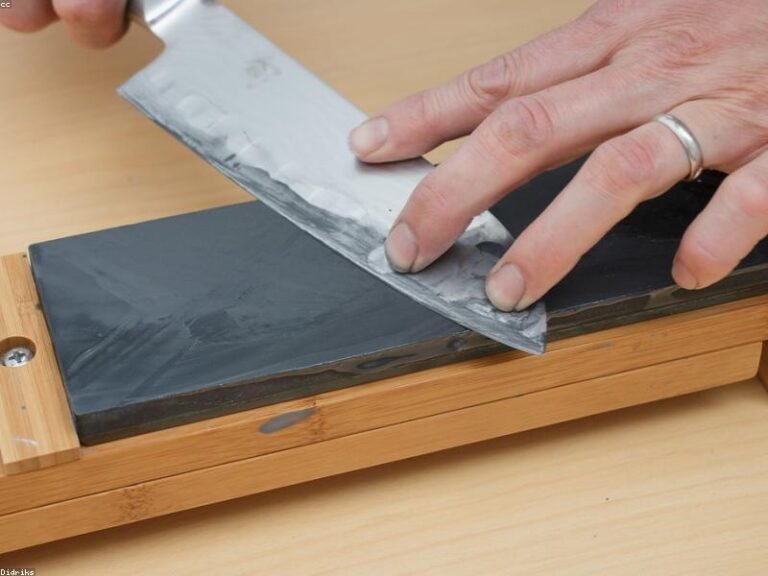
Method 3: Sandpaper on a Flat Surface
Wet/dry sandpaper (silicon carbide) on a flat surface is functionally identical to a whetstone — and incredibly cheap. This is the closest you’ll get to actual stone sharpening without owning stones.
- Tape a sheet of wet/dry sandpaper (400-600 grit for dull knives, 1000-2000 for touch-ups) to a flat surface — glass, a mirror, a polished countertop, or even a hardcover book.
- Wet the sandpaper with water or light oil.
- Sharpen exactly as you would on a whetstone: consistent angle, alternating sides, heel-to-tip strokes.
- Progress through grits: 400 — 600 — 1000 — 2000 for a polished edge.
Best for: Any knife. This is the most versatile method and works from completely dull to finishing polish.
Method 4: Car Window Edge
The top edge of a rolled-down car window is tempered glass with a fine, uniform texture. It works as a make-do ceramic rod for emergency touch-ups. Run the blade along the top edge at a consistent angle — it won’t fix a truly dull blade, but it will bring back a working edge in a pinch.
Best for: Emergency field touch-ups when you have literally nothing else.
Method 5: Another Knife (Steeling)
Using the spine (back) of a second knife as an improvised honing rod. This only works on softer steels and is more about edge realignment than sharpening.
- Hold the “sharpening” knife spine-up, blade pointing away.
- Draw your dull knife along the spine at a slight angle.
- Alternate sides. This is rough — don’t use your best knife as the improvised rod.
Best for: Soft steel kitchen knives, absolute last resort.
How to Tell If It Worked
Three tests for sharpness, in order of increasing difficulty:
- Paper test: Hold a sheet of printer paper. Push-cut from the top edge. A sharp knife bites immediately and slices cleanly without tearing.
- Arm hair test: Lightly touch the blade to forearm hair. A sharp edge pops hair off above the skin. Don’t press — if it shaves, it’s sharp.
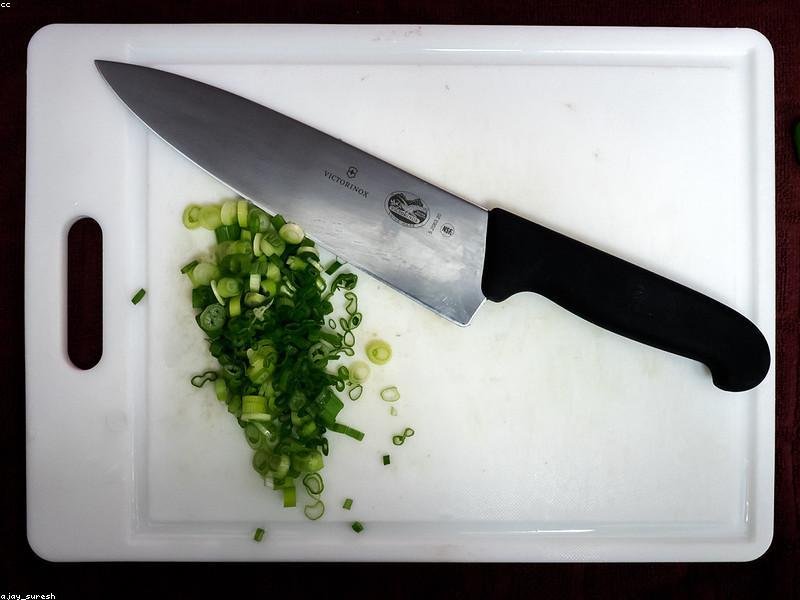
- Tomato test: Place a ripe tomato on a cutting board. Rest the blade on the skin and pull backward without downward pressure. A truly sharp knife catches the skin and slices through — no squashing.
When to Use These Methods vs. Proper Sharpening
These are emergency and maintenance techniques — not replacements for a proper sharpening setup. Use them to:
- Get through a cooking session when your chef’s knife goes dull mid-prep
- Touch up an EDC knife at work or on the road
- Maintain an edge between full sharpening sessions
For long-term knife care, invest in a proper sharpener. Check our sharpener guide for recommendations at every budget.
Frequently Asked Questions
Can I really sharpen a knife on a coffee mug?
Yes — the unglazed ceramic ring is approximately 2000-3000 grit equivalent. It’s fine enough for touch-ups and maintenance but won’t fix a severely dull or damaged edge. Think of it as an improvised honing rod, not a full sharpening solution.
Will these methods damage my knife?
Not if you maintain a consistent angle and use light pressure. The risk is the same as any sharpening: rounding the edge by wobbling or applying too much pressure. Start gentle and check your progress frequently.
How often should I sharpen my knife?
For home cooks using their knife daily: hone weekly, sharpen every 2-3 months. For EDC knives: it depends entirely on use. If it stops cleanly cutting paper, it’s time.