How to Use an Electric Knife Sharpener: A Step-by-Step Guide
Buying an electric knife sharpener is the easy part. Using it correctly is where most people go wrong — pulling too fast, skipping stages, or pressing down instead of letting the machine’s motor do the work. Do it wrong for long enough and you’ll round over your edge or wear away far more steel than necessary. Here’s exactly how to use one the right way, from your first pass to your last.
How Electric Sharpeners Are Built to Work
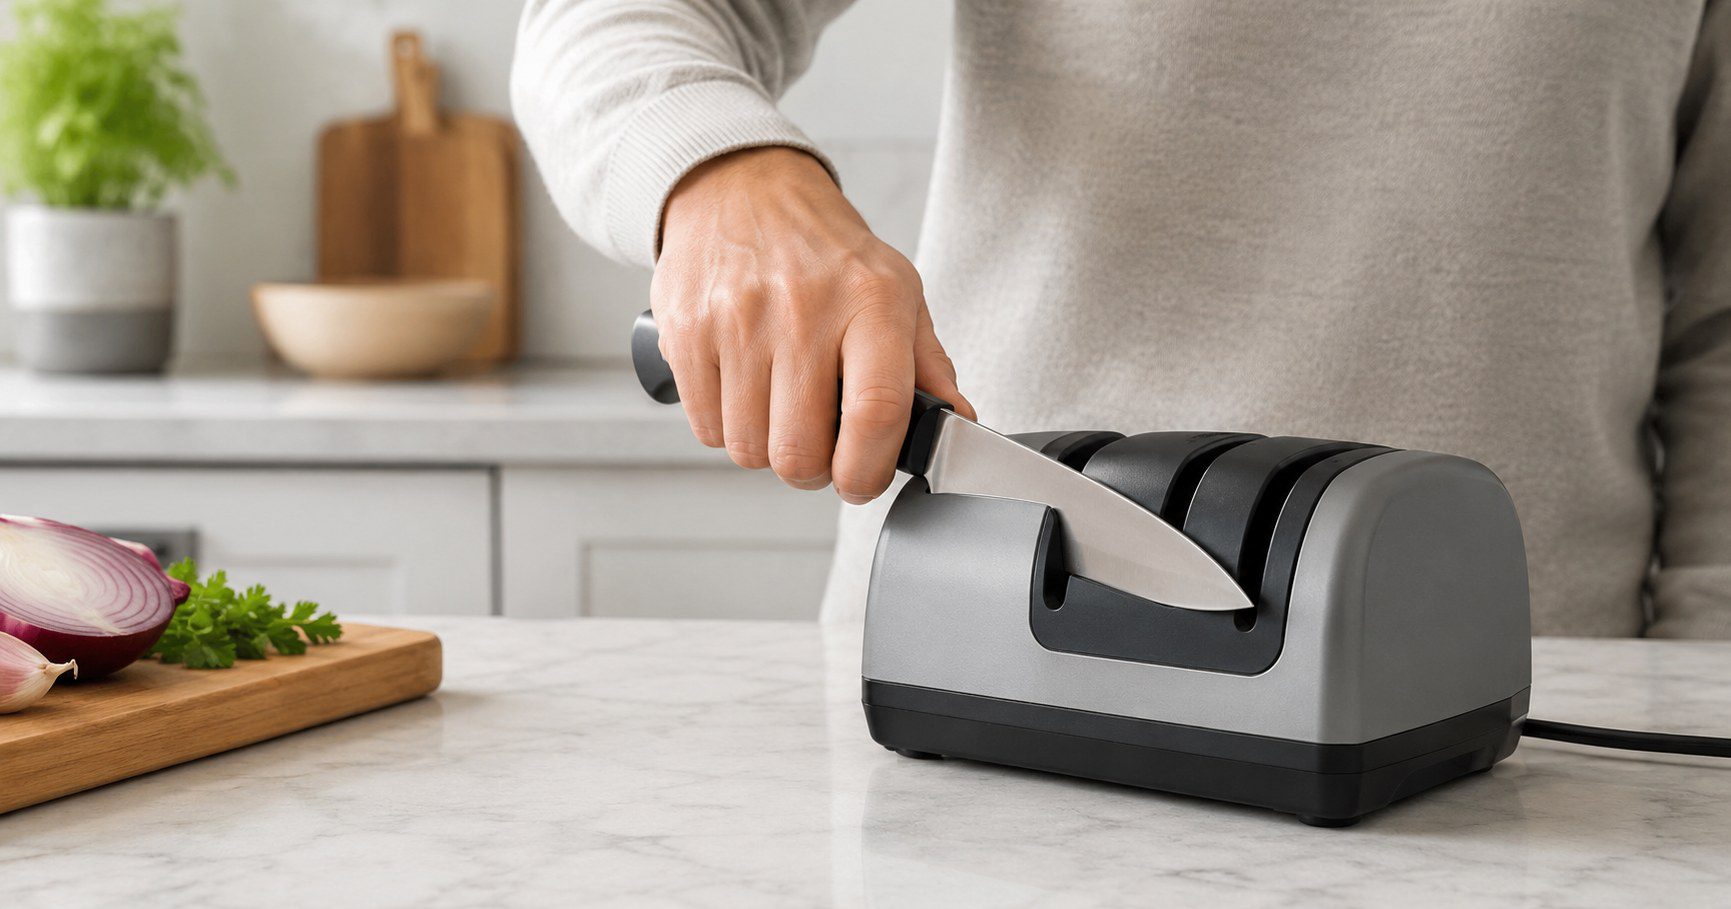
Most electric knife sharpeners use two or three angled slots, each containing spinning abrasive wheels set at a fixed angle. You pull the blade through each slot in sequence — coarse first, then medium, then fine (on three-stage models) — and the machine grinds a new edge at that fixed angle. The fixed-angle design is actually the main advantage over freehand sharpening: you don’t have to hold a consistent angle yourself, the guide slot does it for you. That only works, though, if you feed the blade through correctly.
Step 1: Read the Slot Guide First
Check your sharpener’s manual or the markings on the unit itself for which slot is coarse, medium, and fine, and whether it has a dedicated slot for serrated blades. Using the stages in the wrong order — or skipping the coarse stage when your knife actually needs it — is one of the most common reasons people end up unsatisfied with an electric sharpener.
Step 2: Only Use the Coarse Stage When You Need It
The coarse stage removes the most metal and is meant for knives that are genuinely dull or have a damaged edge — not for routine touch-ups. If your knife is only slightly less sharp than it used to be, start at the medium stage instead. Using the coarse stage every time wears down your blade faster than necessary over its lifetime.
Step 3: Pull at a Slow, Steady Pace
Place the heel of the blade into the slot and pull it toward you in one smooth, slow motion until the tip clears the slot. Resist the urge to rush — pulling too fast doesn’t give the abrasive wheels enough contact time to grind evenly along the edge, which can leave uneven or missed spots.
Step 4: Let the Machine Apply the Pressure
This is the mistake that causes the most damage: pressing down on the blade as you pull it through. Electric sharpeners are calibrated for a light, guiding touch — the spinning wheels do the actual grinding. Pressing down forces the blade against the abrasive at the wrong angle and can gouge or overheat the edge. Guide the knife through; don’t force it.
Step 5: Repeat the Right Number of Passes per Stage
Most manufacturers recommend a small, specific number of pulls per stage (commonly somewhere around three to six, but check your specific model’s instructions, since this varies by machine and by how dull the blade is to start). Doing significantly more passes than needed doesn’t make the edge sharper past a certain point — it just removes more steel than necessary. Work through each stage in order, using the same number of pulls on both sides of the blade to keep the edge centered.
Step 6: Alternate Sides Evenly
Most electric sharpeners grind both sides of the edge in a single pass through the slot, but some designs require you to alternate which side of the blade you lead with on successive pulls. Check your model’s instructions on this — uneven grinding between the two sides is a common cause of a knife that looks sharp but doesn’t cut straight.
Step 7: Finish with a Light Touch on the Final Stage
The fine stage polishes the edge and removes the tiny burr left by the coarser stages. Use fewer, lighter pulls here than on the earlier stages — this step is about refining what you’ve already sharpened, not removing more metal.
Step 8: Test the Edge Safely
Once you’re done, test the edge on paper or a tomato rather than your thumb. A sharp knife should glide through paper or tomato skin with almost no pressure. If it’s still catching or tearing, run it through the medium stage again rather than jumping straight back to coarse.
Common Mistakes That Wear Out Knives Faster
- Sharpening too often. A knife that’s still reasonably sharp doesn’t need the machine — honing with a honing rod between sharpenings maintains an edge without removing steel.
- Using the coarse slot as a default. Save it for genuinely dull or damaged blades.
- Sharpening a serrated knife in a straight-edge slot. This can damage both the serrations and the machine if your sharpener doesn’t have a dedicated serrated slot.
- Twisting the blade mid-pull. Keep the spine of the blade steady and vertical as you pull it through; twisting produces an uneven bevel.
Choosing the Right Sharpener for This Technique
The technique above applies broadly across electric sharpeners, but the number of stages, slot angles, and recommended pass counts do vary by model. If you’re still deciding which sharpener to buy, our guide to the best electric knife sharpeners compares several current options across different budgets and use cases.
If you’re weighing an electric sharpener against sharpening by hand, our electric vs. manual sharpener comparison breaks down which approach suits different kitchens and skill levels. And if freehand sharpening still interests you, our whetstone sharpening guide walks through that process step by step.